Setting Up OneDrive Desktop Backup
Purpose
Automatically back up important folders (Desktop, Documents, and Pictures) to OneDrive, ensuring files are safe, synchronized, and accessible from any device.
What You’ll Need
-
A Windows 10 or Windows 11 computer
-
The OneDrive desktop app (pre-installed on Windows; downloadable from Microsoft if missing)
-
A company Microsoft 365 account
-
Internet connection
Step-by-Step Guide
-
Open OneDrive
-
Click the OneDrive cloud icon in the taskbar (bottom-right of your screen).
-
If not signed in, enter your work email address and credentials.
-
-
Access Backup Settings
-
Right-click the OneDrive icon in the taskbar.
-
Select Settings.

-
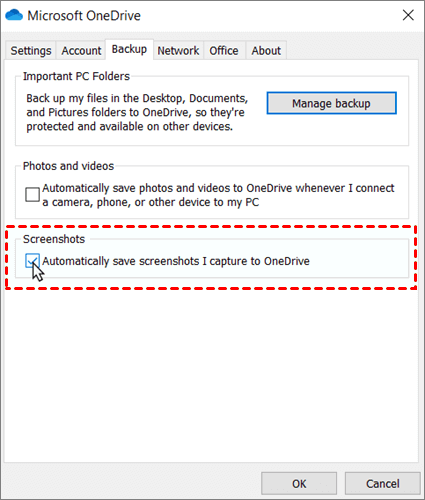
Go to the Backup tab.
-
-
Choose Folders to Back Up
-
Click Manage Backup.

-
Select the folders you want to protect (Desktop, Documents, Pictures).
-
Click Start Backup.
-
-
Verify Backup
-
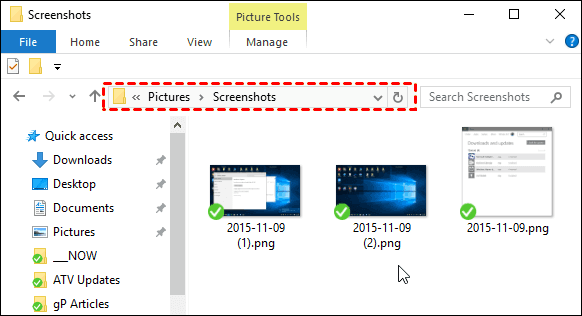
Your selected folders will now sync automatically to OneDrive.
-
Files will display a cloud icon (online only) or a green checkmark (available offline).
-
-
Access Backed-Up Files
-
Open File Explorer → select OneDrive – [Company Name].
-
Files are available both locally (if synced) and online via OneDrive.com.
-
-
Restore Files if Needed
-
Deleted files can be recovered from the OneDrive Recycle Bin.
-
Right-click a file → Version History to resto re previous versions.
-
Tips for Best Practice
-
Always confirm the OneDrive icon is running in the taskbar to ensure syncing.
-
Use Files On-Demand to save space (right-click file → Free up space).
-
Avoid storing company data outside of OneDrive or SharePoint.
-
Check storage limits to ensure large backups complete successfully.
Need Help?
Contact All in IT Solutions today for expert assistance.
- Phone: 1300 255 464
- Visit: Support Page